
Rain runs off hard surfaces faster than most properties can absorb it. That water picks up oil film from driveways, fertilizer overspray https://landscapeimprove.com/ from lawns, and sediment from bare beds, then rushes into storm drains. A well-designed rain garden interrupts that surge. It captures runoff in a shallow basin planted with deep-rooted natives, holds it for a day or two, and lets the soil do the filtering nature intended. When built with care, a rain garden solves a drainage problem and gives you a pollinator-rich focal point. It is landscape design that earns its keep.
What a Rain Garden Actually Does
Think bowl, not pond. A rain garden is a depressed planting area, typically 4 to 8 inches lower than the surrounding grade, set downslope of roofs, patios, or driveways. Downspouts or a simple swale convey runoff into the garden, which temporarily fills during storms. Water spreads across a flat bottom, soaks through amended soil, and percolates into the subgrade. Plants with fibrous, deep root systems create pores in the soil, drawing water and oxygen down, while microbes on those roots break down pollutants. Stones or a short section of turf at the inlet slow the flow so the surface does not scour.
A well-built rain garden drains in 24 to 48 hours. That window matters. It is long enough to reduce the peak flow leaving your lot, short enough to avoid mosquito breeding. In heavy rain, an overflow notch cut into the rim returns excess water to a safe discharge path, usually the same direction it would have gone without the garden, just delayed and cleaner.
If you have ever watched a downspout geyser during a summer storm, you have seen the peak flow issue firsthand. A single inch of rain on a 1,000 square foot roof yields roughly 620 gallons of runoff. Spread that over 30 minutes, and the flow overwhelms clay-heavy yards and hardpan soils. A rain garden spreads the load over hours, not minutes.
Where a Rain Garden Makes Sense, and Where It Does Not
Most residential lots can host a rain garden, but site fit matters. I have evaluated dozens of yards across loamy suburbs, infill lots with compacted fill, and older properties where clay sits barely a spade deep. The right location is part hydrology, part commonsense construction.
Place the garden downslope from your water source. Keep it at least 10 feet from the house foundation if you have a basement, 5 to 7 feet if you are on a slab. Never position it over a septic drainfield. Avoid tree root zones for mature oaks and maples; trenching for the inlet can harm critical roots, and the trees will compete with the new planting.
Slope is both friend and foe. You need fall to get water into the basin without pumps, but if the drop is steeper than about 12 percent, you risk erosion and uneven ponding. I often set a level string line and measure the fall across 20 feet. If I get more than 2.5 feet of drop, I recommend either terracing with a pair of smaller basins or choosing another spot.
Soils can be improved; geology cannot. A simple percolation test will tell you if the site drains. Dig a hole 8 inches wide and 12 inches deep. Fill it with water and let it drain once to pre-wet the soil. Fill again and time the drop. Good sites fall 1 to 2 inches per hour. Less than half an inch per hour means you either build a thicker engineered soil layer with underdrains or pick another solution. On the other end, very sandy soils that empty in minutes can still work, but you will need organic matter and mulch to hold moisture for plant health.
Utilities are a nonnegotiable check. Call before you dig. I have seen sprinkler lines, low-voltage lighting, and cable service run exactly where a downspout suggests a basin. Relocating a conduit after the fact is more painful than adjusting the layout on paper.
Sizing and Slope, Without Guesswork
Rules of thumb keep projects from drifting. For most homes, sizing a rain garden at 10 to 20 percent of the impervious area draining to it works. If your 500 square foot roof section feeds one downspout, a 50 to 100 square foot garden with a 6-inch working depth will handle moderate storms. Soils drive that percentage. On fast-draining loams, go toward 10 percent. On tighter clays, push toward 20 percent and add a broader footprint rather than more depth. Shallow, wide basins infiltrate more evenly and look natural.
The bottom should be level. Not almost level. Level. If water sits on one end and leaves the other end dry, plants will tell you which half you got wrong within weeks. I use a 4-foot level on a straight 2x4 and check in a grid pattern, shaving high spots and tamping low ones until the bubble holds steady. A laser makes life easier on bigger builds, but most residential sites do fine with hand tools and patience.
Inlets and outlets benefit from fabric and rock armor. A small pad of geotextile covered with river rock or angular crushed stone at the inlet dissipates energy. At the overflow, a low weir lined with the same stone prevents the rim from cutting and dropping in a heavy event. Think of it like a bathtub notch that rescues you when guests turn on the taps too long.
Soil: The Unseen Engine
Plants get the headlines, but soil is the engine. Standard landscaping topsoil mixes rarely cut it. You want a blend that drains yet holds enough moisture and nutrients to support perennials. A common specification that has performed well on dozens of projects is 60 percent sand, 20 percent screened topsoil, and 20 percent finished compost by volume. The sand creates macropores, the soil contributes minerals and fines for structure, and compost adds biology and organic matter. If your native soil is decent loam, you can till and amend in place. If you are working over clay, excavate 12 to 18 inches, then backfill with the engineered mix.
Mulch matters in the first two years. Shredded hardwood or pine fines settle and knit together, resisting float in stormwater. Keep it to 2 or 3 inches. Avoid large bark nuggets; they migrate to the outlet like little boats. After plants knit, you can taper mulch and let leaf litter do the job.
I have had clients ask about biochar, and used judiciously it helps. Mixed at 5 to 10 percent of the compost portion, biochar improves cation exchange capacity and holds nutrients released during storms. Pre-charge it with compost tea or dilute fish emulsion so it does not immobilize nitrogen early on.
Plants That Work Hard and Look Good
A rain garden cycles through wet and dry. Choose species that tolerate occasional inundation and summer drought. Native plants shine because they evolved for local swing seasons and support pollinators. Aim for three layers: structural perennials and grasses, a few compact shrubs, and edge species that transition to the surrounding lawn or bed.
For the Midwest and Northeast, I have had consistent success with blue flag iris, swamp milkweed, Joe Pye weed, New England aster, and little bluestem. Iris anchors the bottom, milkweed and Joe Pye handle the mid-slope, aster lights up fall, and bluestem gives winter structure. In the Southeast, swap in soft rush, dwarf clethra, and lanceleaf coreopsis. In the West, where summer drought is more severe, use seep monkeyflower in the wetter zones, with deer grass, California gray rush, and narrowleaf milkweed on the shoulders. If you garden in a cold mountain valley, sedges like Carex stricta and shrubs such as redtwig dogwood tolerate spring saturation and winter cold with less fuss.
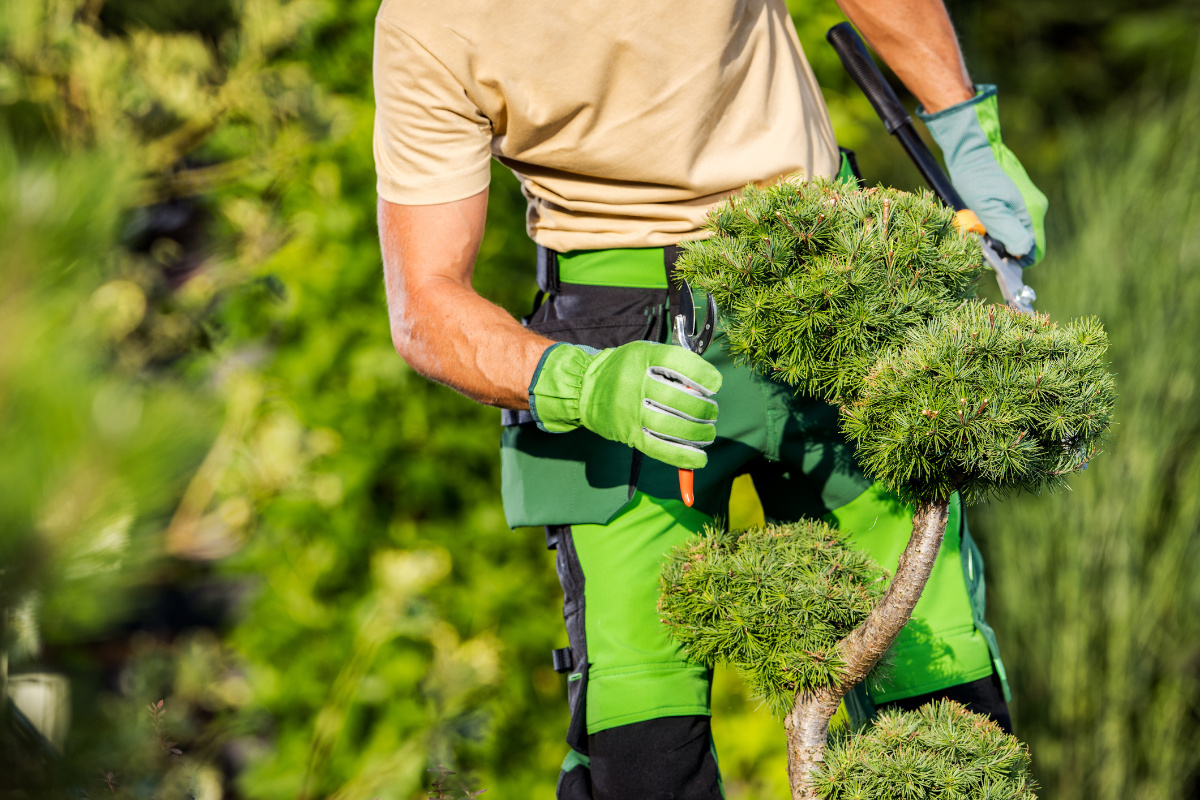
Shrubs earn their keep at the rim and as backdrops. I keep them small to avoid root competition with downspout lines and to preserve the bowl profile. Sweetspire, inkberry holly in its compact forms, and low redtwig dogwoods provide year-round presence. In front yards, where neighbors judge the look from the curb, a handful of ornamental plugs like prairie dropseed along the edges telegraph intent and neatness.
Dense groundcovers at the edges solve a practical problem: preventing lawn encroachment. Rather than fighting grass with a string trimmer, plant a 12 to 18 inch collar of creeping phlox, foamflower, or an ornamental sedge. That band reads as a deliberate border, deters mower creep, and holds the soil.
A Day On Site: How We Build One That Lasts
The field sequence matters more than any single material choice. The order keeps the basin clean, the grade accurate, and the plants alive.
- Mark utilities, set string lines, and paint the footprint. Confirm elevations from downspout to inlet and from basin bottom to overflow with a level. Adjust layout before the first shovel lands. Excavate the basin, stockpiling native soil separately from sod and debris. Rough-shape the side slopes at a gentle 3:1. If the percolation test was poor, go to the planned depth for engineered soil and underdrain installation. Install the inlet swale or pipe with proper pitch. Line the inlet pad with geotextile and stone. If using a pipe extension on a downspout, add a clean-out at the top elbow for maintenance. Backfill with the soil blend in lifts, lightly compacting with a hand tamper to limit post-settlement. Laser or level-check the bottom. Form the overflow notch with stone armor in place. Plant from center out. Set plugs and quart perennials in groups of 3 to 7 to read as drifts, not polka dots. Tuck shrubs into the upper slopes. Water thoroughly, then mulch the bare soil between plants.
This sequence keeps soil structure intact and reduces rework. The common shortcut of planting before finishing the overflow notch almost always ends with footprints through your new bed when the first thunderstorm finds the weak point.
Maintenance That Fits a Real Calendar
Rain gardens are not set-and-forget, but they do not demand daily attention either. Expect a higher touch the first year, then a steady, seasonal rhythm.
Early on, weeding is the main job. Wind and birds always deliver seeds, and disturbed ground attracts opportunists. Plan to walk the bed every two weeks in the first growing season. Pull seedlings while the soil is moist, especially after storms. If you miss a month in midsummer, catch up after a rain when roots let go easily. By year two, as canopy closes and mulch breaks down, weeding drops to a monthly look and pull.
Watering depends on rainfall and soil. I tell clients to water new plantings deeply once a week for the first six weeks if rain does not arrive. After establishment, only water in prolonged dry spells. Overwatering a rain garden defeats the point and can invite shallow rooting.
Mulch once in spring with a light top-up. If your basin clogs with fine sediment at the inlet, scoop the silt and redistribute it across the bed or add a bigger stone apron. In autumn, leave most stems standing. Birds will work the seedheads, and stems hold snow and catch leaves that feed the soil. Cut them back in late winter before new growth, leaving 8 to 12 inches of stubble to shelter beneficial insects.
A quick annual inspection of the overflow notch pays dividends. If lawn clippings or leaves have formed a dam, clear it. If the stone has settled and created a low spot elsewhere, re-level it and tuck a few more rocks to hold the grade.
Clients sometimes ask how long a rain garden lasts. With periodic attention, we have gardens from a decade ago that still function as well as day one, with richer soil and thicker crowns. The one failure I have seen was a basin downhill from a gravel driveway where winter plowing piled gravel into the garden year after year. The fix was simple, add a low timber edge along the driveway and a small sediment forebay at the inlet to catch grit.
Mosquitoes, Kids, and Other Practical Concerns
Standing water raises eyebrows. The key point is that a rain garden drains quickly. If yours still holds water after 48 hours, something is off. The bottom may not be level, the soil blend could be too fine, or the inlet is silt-loading the basin. Adjust the soil composition by adding sand and loosening compaction, and make sure the overflow is actually the lowest point on the rim.
For families with small kids, depth matters. Keep the maximum ponding depth at 6 inches. That volume handles typical downpours while remaining shallow. Slope the sides gently so there is no sudden drop. In play-heavy yards, we sometimes add a stepping stone path across the top edge so curious feet have a route that does not compact the planting.
Pets do what pets do. Most dogs will run the shortest path between yard zones, which can be straight through a new bed. A low, unobtrusive border of boulders or a simple steel edging nudges them to go around. Once plants fill in, dogs often find their own favorite mulch-cool lounging spot and stick to it, which turns into a photo opportunity rather than a problem.
Integrating With the Rest of the Landscape
A rain garden should feel like it belongs, not like a pothole with plants. Tie it into existing lines. If your property has a curving bed along the foundation, echo that curve in the basin rim. If it is a modern lot with rectilinear patios, aim for a clean oval with crisp edges. Carry one or two species from adjacent garden landscaping into the rain garden rim for continuity, then shift into the wetter-tolerant palette inside.
Connections matter. A grass swale feeding the garden can double as a visual line that guides the eye from driveway to front door. Flat stepping stones bridging that swale keep shoes clean and invite use. On sloped sites, a short run of native stone mimicking a dry creek bed can stabilize the inlet and read as sculpture even on dry days.
Lighting helps in front yards, but avoid trenching through the basin for low-voltage runs. Route around the rim and keep fixtures at the edges. In winter, frost and heaving are less of a problem at the perimeter than in the middle where moisture cycles are more intense.
From a lawn care perspective, adjust mowing patterns so clippings do not blow into the basin. Nitrogen-rich clippings add nutrients that can spark weed surges. Most landscape maintenance services can tweak the mowing route in their first visit once the garden is in place. Mulch ring collars on adjacent trees also keep mowers and trimmers out of conflicts with the rain garden rim.
Budget, Phasing, and Where Professional Help Pays Off
Costs vary with soil, access, and finish level. A small homeowner-built basin of about 80 square feet, with a hand-dug depth and basic plant palette, can land in the 500 to 1,500 dollar range for soil, mulch, rock, and plants. Hiring a landscaping company for a turnkey build of a 150 to 250 square foot garden with engineered soil and a robust plant list often runs 3,000 to 8,000 dollars. Add underdrains, curb cuts, or permit requirements, and the budget climbs. On commercial sites where stormwater credits apply, we have installed large systems in the 20 to 60 dollar per square foot range, driven by compliance specifications.
Phasing is a practical approach if budget or time is tight. Build the basin and inlet path first. Plant the structural perennials in the center and mulch the rest. Fill out the body with additional species in fall or the following spring. The hydrologic function starts immediately, and the horticultural finish catches up with a season’s patience.
Where do landscape design services add the most value? Three points stand out. First, grading. A professional crew will achieve a level bottom and stable rim quickly, and that accuracy dictates function. Second, plant selection tailored to microclimate. A north-facing front yard with reflected glare from a white facade behaves differently than a backyard pocket protected by fences. Third, long-term maintenance planning. A good landscaping service will schedule the first two seasonal visits to catch weed flushes, adjust mulch, and correct any settlement before it becomes a habit the garden carries for years.
What Municipalities and HOAs Want To See
Many cities now encourage rain gardens as part of stormwater management, and some offer rebates. The paperwork usually asks for contributing area, garden size, soil infiltration rate, and an overflow plan. Keep a simple sketch with measurements and a copy of your percolation test in your files. If you are in an HOA, the aesthetic piece matters. Share plant lists with bloom times, include a neat border detail, and show that the garden will present as intentional and maintained.
I have had applications approved faster when the rendering included a mown edge or stone border, even when the garden behind that line was a wild riot of pollinator color mid-summer. Neat edges buy freedom inside the frame.
Common Mistakes I See, and the Fixes
The most frequent misstep is over-deep basins. Digging a foot or more without increasing the footprint often creates a wet pit that starves roots of oxygen. The fix is to raise the bottom with a proper soil mix and spread the area out. Another is ignoring sediment control during construction. If you leave bare soil upslope, the first storm will fill your brand-new garden with silt. Stake a quick fiber roll or lay straw along the upslope edge until vegetation establishes.
Plant spacing is the silent budget leak. Cramming plants tightly for instant coverage looks lush for a season, then becomes a maintenance headache as aggressive species crowd their neighbors. Respect mature widths, and use annuals as temporary fill if you need early coverage. A measured approach costs less, looks better in year three, and lowers long-term pruning and division.
Finally, forgetting the overflow. Every rain garden eventually meets a storm bigger than it was sized for. Water will find the low point. Make sure you decide where that low point is, and armor it.
Beyond the Backyard: Scaling and Stacking Benefits
Rain gardens fit into larger site strategies. On a school campus, a series of three small basins stepping down a gentle slope handled courtyard roof runoff and doubled as outdoor science labs. Students tracked infiltration after storms, measured water clarity at the inlet and outlet, and planted milkweed that now hosts monarch caterpillars every fall.
On a small commercial property, a pair of elongated basins along the parking lot edge turned a strip of heat-reflecting asphalt into a green buffer that cut glare, trapped snowmelt grit, and met local stormwater requirements without adding underground tanks. The property owner saved on utility fees tied to impervious cover and got a more appealing frontage for clients.
These examples point to the broader value. Landscapes that soak, slow, and store water outperform those that shed it. When you add pollinator habitat and seasonal color to that function, you create places people enjoy. That is the sweet spot for any landscaping service focused on long-term results rather than quick curb appeal.
If You Are Starting From a Problem, Start Here
Most homeowners consider a rain garden after trouble shows up. Maybe the downspout floods the patio, or the side yard stays soggy for days. Begin with a simple map. Walk the property in a light rain and watch the water. Note where it exits downspouts, where it crosses sidewalks, where it pools. Then measure the roof area feeding each downspout and jot down the rough slope to potential garden locations. A tape measure, graph paper, and a level get you most of the way to a sensible layout.
If you engage a landscaping company, bring your notes. Ask about infiltration testing, engineered soil blends, and overflow design. Ask to see photos of their work after storms, not just sunny day glamour shots. Firms that do both landscape maintenance services and installs often have the cleanest builds; they are the ones who will live with the results and notice what fails.
And if you decide to DIY, start modestly. Pick one downspout and build a basin you can finish in a weekend with a friend. You will learn as you go, and the next one will go faster. I have watched that path turn into a string of small, beautiful fixes that add up to a resilient property.
The Payoff, Measured and Felt
Quantifying benefits helps justify the investment. A single 150 square foot rain garden paired with one roof section can infiltrate hundreds to a few thousand gallons per month depending on rainfall. Over a season, that reduces strain on storm sewers, trims erosion scars where water used to sprint across turf, and lessens the chance that fertilizer from lawn care ends up in nearby streams. Your plants do the filtering for free. Maintenance time drops after the first year, and water bills often edge down when you need to irrigate less around the basin thanks to cooler microclimate and organic matter buildup.
Then there is what you notice when you are not measuring. The first time goldfinches work the coneflower seedheads in September. The dragonflies that hover over the basin after a July thunderstorm. The way the yard smells after that water is held and sinking, not sprinting across clay. Those moments are optional in a strict stormwater sense, but they are the reasons people keep adding these features, one basin at a time.
If your goal is to make a landscape do more than look tidy, a rain garden is a strong step. It solves a hydrologic problem with a living system, it adds depth to your planting palette, and it aligns everyday lawn and garden care with the way water wants to move. With thoughtful design and steady maintenance, it becomes the quiet, reliable heart of an eco-friendly landscape.
Landscape Improvements Inc
Address: 1880 N Orange Blossom Trl, Orlando, FL 32804
Phone: (407) 426-9798
Website: https://landscapeimprove.com/